업데이트(2020.07.19): Ubuntu 지원 버전에 따른 설치 방법 업데이트
이전 포스팅에서 버전만 Ubuntu 16.04로 바뀐 포스트입니다.
환경
- Ubuntu 20.04 (LTS)
- Ubuntu 18.04 (LTS)
- Ubuntu 16.04 (LTS)
- Nginx (version: 1.4.6)(apt-get을 통한 설치)
- 도메인
읽기 전에!
사전 준비사항
- Nginx에 대한 간단한 사용법(conf파일을 통해 서버블록 생성 가능)
- HTTPS와 인증서에 대한 개념
- 도메인도 하나 필요합니다. 여기에서는 example.com이라는 도메인이 있다고 가정하고 진행하겠습니다.
1. certbot 설치
Ubuntu 16.04 (LTS), Ubuntu 18.04 (LTS) 저장소 세팅
저장소 설정 및 업데이트 진행
$ sudo apt-get update
$ sudo apt-get install software-properties-common
$ sudo add-apt-repository universe
$ sudo add-apt-repository ppa:certbot/certbot
$ sudo apt-get update
Ubuntu 20.04 (LTS) 저장소 세팅
저장소를 설정 및 업데이트 진행
$ sudo apt-get update
$ sudo apt-get install software-properties-common
$ sudo add-apt-repository universe
$ sudo apt-get update
공통
certbot 설치
$ sudo apt-get install certbot python3-certbot-nginx
2. Nginx 세팅
Certbot이 자동으로 SSL을 세팅해주기 때문에 /etc/nginx/sites-available로 이동하셔서 원하시는 .conf파일에 server block과 server_name을 설정해주면 됩니다.
$ sudo vim /etc/nginx/sites-available/[your conf file name]
아래는 제 예시입니다. undang_backend_nginx.conf에 블록들이 있기 때문에 아래처럼 되었습니다.
$ sudo vim /etc/nginx/sites-available/undang_backend_nginx.conf
위와 같은 블록말고 default에 설정하고 싶으시면 아래처럼 default를 열어주시면 됩니다.
$ sudo vim /etc/nginx/sites-available/default
이제 서버 블록 파일 안에 server블록에서 server_name 옆에 설정하고자 하는 도메인 이름으로 변경해주시면 됩니다. 저는 아래와 같습니다.
...
# configuration of the server
server {

    listen      80;
    listen [::]:80;
    # Put your domain next to server_name
    server_name undang.twpower.me;
    charset     utf-8;

    # max upload size
    client_max_body_size 75M;   # adjust to taste

...

}
위와 같은 설정을 하시고 꼭 방금 설정한 .conf파일에 대한 symlink를 생성해서 /etc/nginx/sites-enabled에 추가해야합니다. 이미 되어 있다면 상관이 없으며 아래 예시를 첨부합니다.
$ sudo ln -s /etc/nginx/sites-available/[config file name] /etc/nginx/sites-enabled/
설정이 완료 되었다면 저장하고 아래 명령어를 통해서 재시작합니다.
$ sudo nginx -t
$ sudo service nginx reload
3. ufw 설정
만약 ufw를 사용하고 있다면 HTTPS 트래픽을 허용하도록 설정을 해줘야합니다.
아래 명령어를 사용하면
다음처럼 나오는데
Status: active

To                         Action      From
--                         ------      ----
OpenSSH                    ALLOW       Anywhere
Nginx HTTP                 ALLOW       Anywhere
OpenSSH (v6)               ALLOW       Anywhere (v6)
Nginx HTTP (v6)            ALLOW       Anywhere (v6)
아래의 명령어를 통해서 nginx관련 모든 트래픽들을 ALLOW 해야합니다.
$ sudo ufw allow 'Nginx Full'

# 만약 위에 결과에서 Nginx HTTP가 있다면 아래 명령어도 실행해줘야 합니다.
$ sudo ufw delete allow 'Nginx HTTP'
결과는 아래와 같습니다. Nginx Full로 되어 있어야합니다.
Status: active

To                         Action      From
--                         ------      ----
OpenSSH                    ALLOW       Anywhere
Nginx Full                 ALLOW       Anywhere
OpenSSH (v6)               ALLOW       Anywhere (v6)
Nginx Full (v6)            ALLOW       Anywhere (v6)
4. SSL 인증 획득하기
다음 아래 명령어를 사용하면 nginx plugin을 통해서 가능합니다. 도메인을 추가적으로 더 하고 싶다면(위에 server_name에도 물론 설정이 되어있어야겠죠?) -d 옵션을 주고 추가하면 됩니다.
$ sudo certbot --nginx -d example.com -d www.example.com
제 예시는 아래와 같습니다.
$ sudo certbot --nginx -d undang.twpower.me
그러면 아래와 같이 1과 2를 선택하는 화면이 나오는데 저와 같은 경우는 모든 경우를 https로 하고 싶어서 redirect를 허용하는 2번을 하였습니다.
Please choose whether or not to redirect HTTP traffic to HTTPS, removing HTTP access.
-------------------------------------------------------------------------------
1: No redirect - Make no further changes to the webserver configuration.
2: Redirect - Make all requests redirect to secure HTTPS access. Choose this for
new sites, or if you're confident your site works on HTTPS. You can undo this
change by editing your web server's configuration.
-------------------------------------------------------------------------------
Select the appropriate number [1-2] then [enter] (press 'c' to cancel): 2
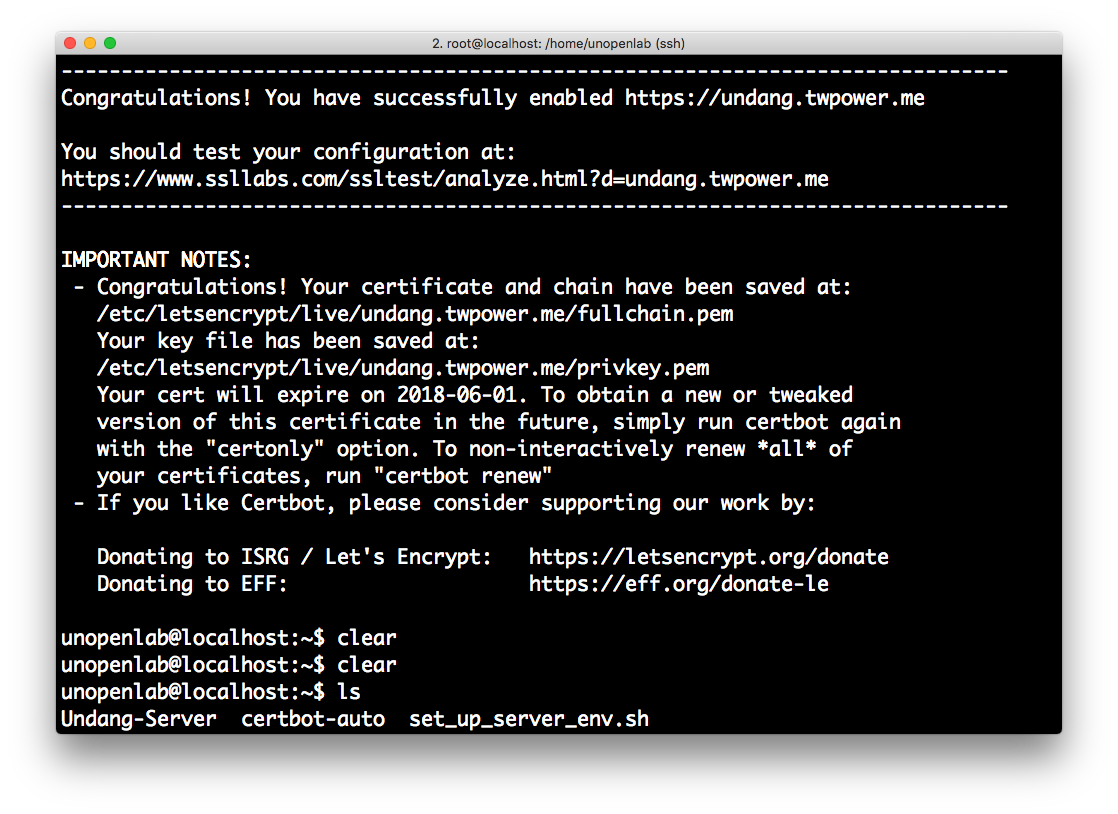
번호를 선택해주면 아래처럼 진행되며 key들도 자동으로 생성해줍니다.
4. 인증서 자동갱신 설정 확인
설정한 certbot은 90일 동안만 유효하기 때문에 갱신을 해줘야합니다. 매번 해주기 귀찮으나 설치한 certbot은 자동으로 갱신을 이틀 단위로 해줍니다.
해당하는 갱신이 제대로 되는지는 아래 명령어를 통해서 확인 가능하며 에러가 나타나지 않으면 renewal이 정상적으로 작동 할겁니다.
$ sudo certbot renew --dry-run
Ubuntu의 경우 /etc/cron.d/에 보면 certbot이 생성되어있습니다.
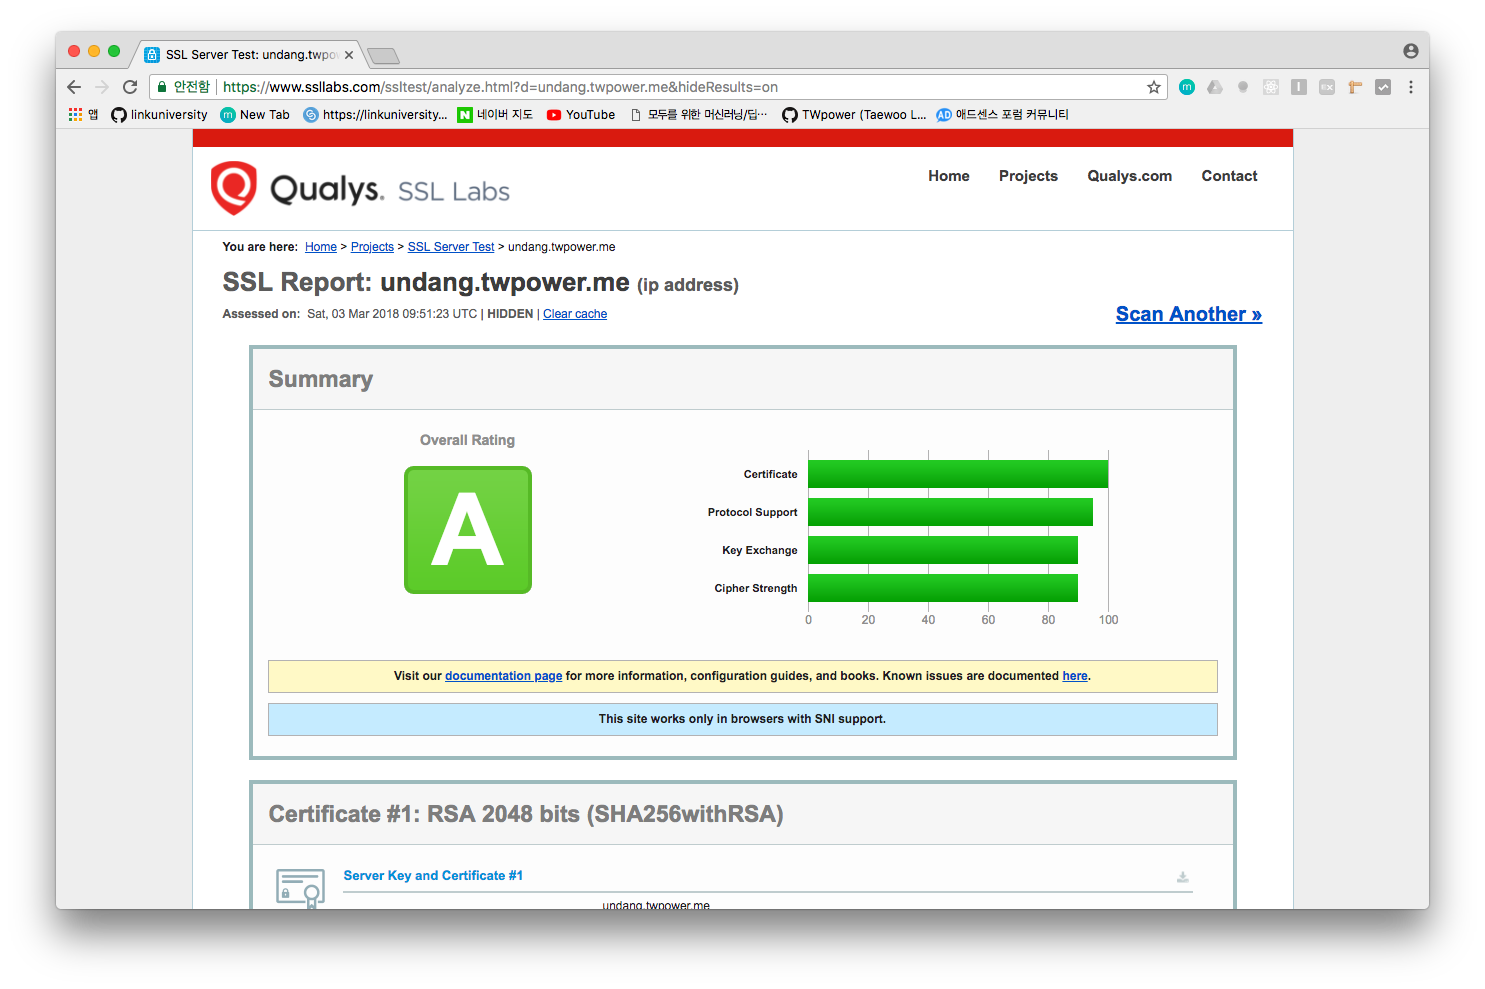
5. SSL 적용 확인 및 평가
본인의 서버에 SSL이 적용이 잘 되었는지 평가할 수 있는 여러 사이트가 있는데 들어가서 본인의 서버 도메인을 입력하면 됩니다.
https://www.ssllabs.com/ssltest/
참고자료