Usage of tail command with various options
Environment and Prerequisite
- Linux base system
- Ubuntu 16.04
- Bash shell(/bin/bash)
tail Command
tail [OPTION]... [FILE]...
tail: Print file contents from back. It can be combined with many options and also can be used with input via pipe. It is widely used for logging.- [FILE] is its argument but if it is omitted then standard inputs will be used.
tail Command Options
tail [OPTION]... [FILE]...
-c, –bytes=K
- Print K bytes from back of file. If use + like +K, then it will print from Kth character to end.
-n, –lines=K
- Print K lines from back of file. If use + like +K, then it will print from Kth line to end. Default value is 10 so if K is omitted then it will print 10 lines.
-f, –follow[={name|descriptor}]
- Keep tracking file and prints new appended file contents. Its default value is descriptor.
- Because its default option value is descriptor so if file name is changed then it prints changed file contents not previous file name contents.
- It can track previous file(which is used in when tail command is starting) by using
-For--follow=name --retry
-q, –quiet, –silent
- Never output headers giving file names
-v, –verbose
- Always output headers giving file names
-F
- Same as
--follow=name --retry - It keeps tracking the file(which is used in when tail command is starting) even though file name is changed during tail command is running.
–max-unchanged-stats=N
- With
-f or --follow=name, reopen a file even if its size has not changed, after every N checks.
–pid=PID
- With
-f or --follow, terminate command when pid is killed. - It is useful when make specific process’s log.
–retry
- Keep trying to open a file with
--follow=name
-s, –sleep-interval=N
- With
-f or --follow, sleep for N seconds for file checking. - With
--pid=PID, check process state at least N seconds.
Examples
Make file for examples
$ cat << EOF > test.txt
123
456
789
101112
131415
161718
192021
222324
252627
282930
313233
343536
373839
EOF
Basic
- Basic usage
- One file
$ tail test.txt
101112
131415
161718
192021
222324
252627
282930
313233
343536
373839
- Also multiple files can be used.
$ tail test.txt test2.txt
==> test.txt <==
101112
131415
161718
192021
...

==> test2.txt <==
a
a
...
n Option Example
- Print last 3 lines.
$ tail -n 3 test.txt
313233
343536
373839
- Print from 3rd line to end.
$ tail -n +3 test.txt
789
101112
131415
161718
192021
222324
252627
282930
313233
343536
373839
c Option Example
- Print last 3 bytes.
- It prints 3 and 9 because one byte new line character(
0a) is included at back.
$ tail -c 3 test.txt
39
- Print from 21th character(one byte size) to end.
$ tail -c +21 test.txt
31415
161718
192021
222324
252627
282930
313233
343536
373839
f Option Example
- Before file input
$ tail -f test.txt
101112
131415
161718
192021
222324
252627
282930
313233
343536
373839
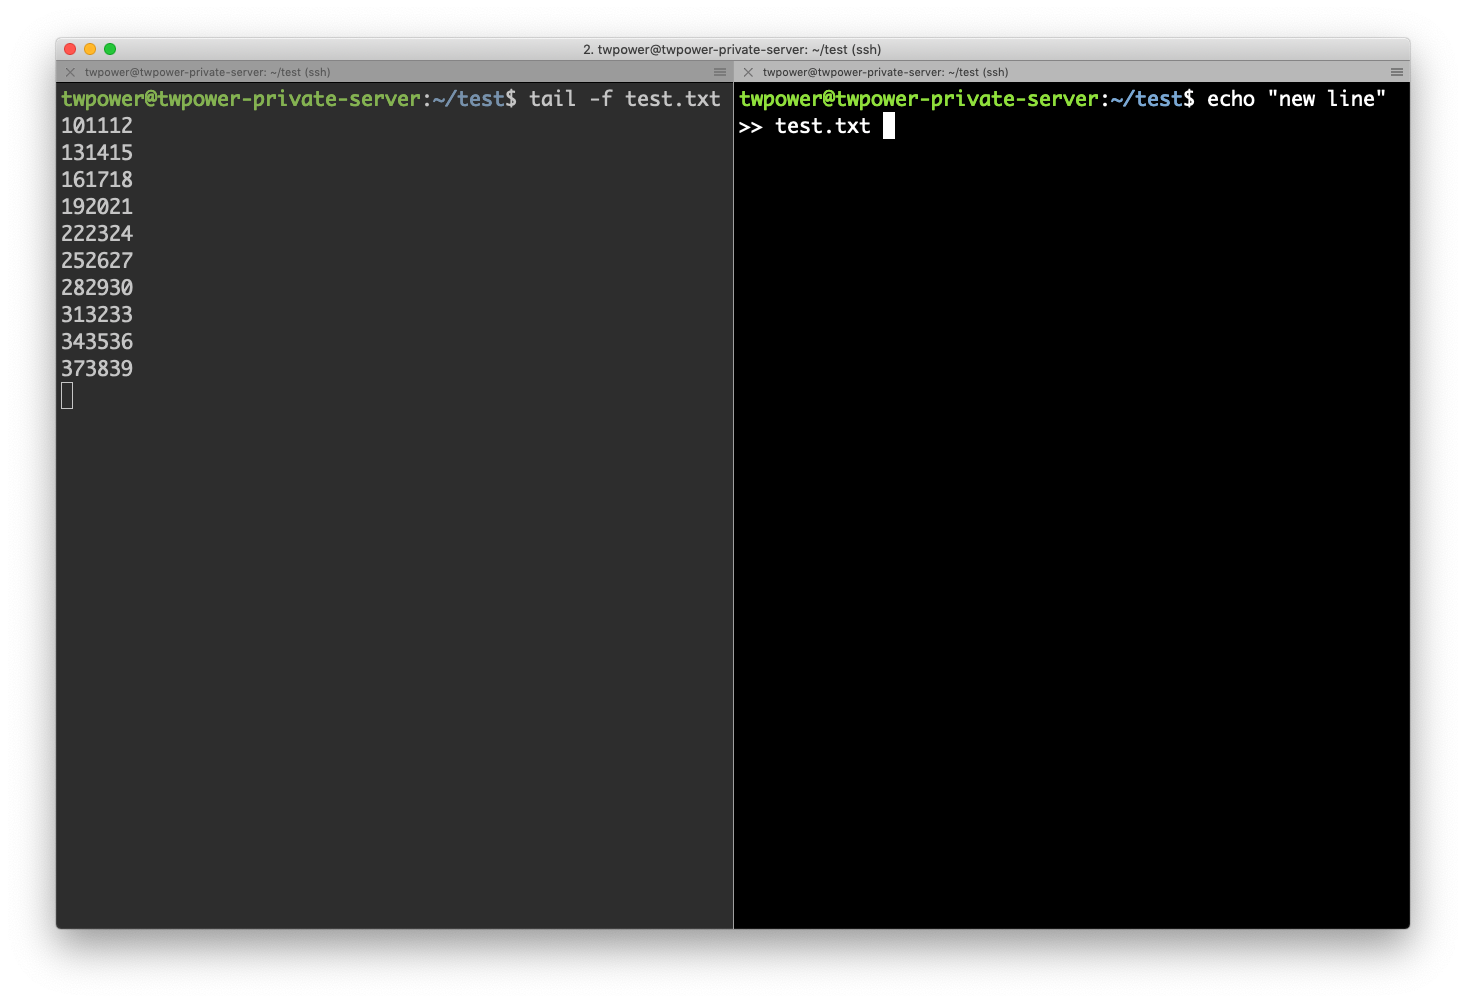
- Add one line
$ echo "new line" >> test.txt
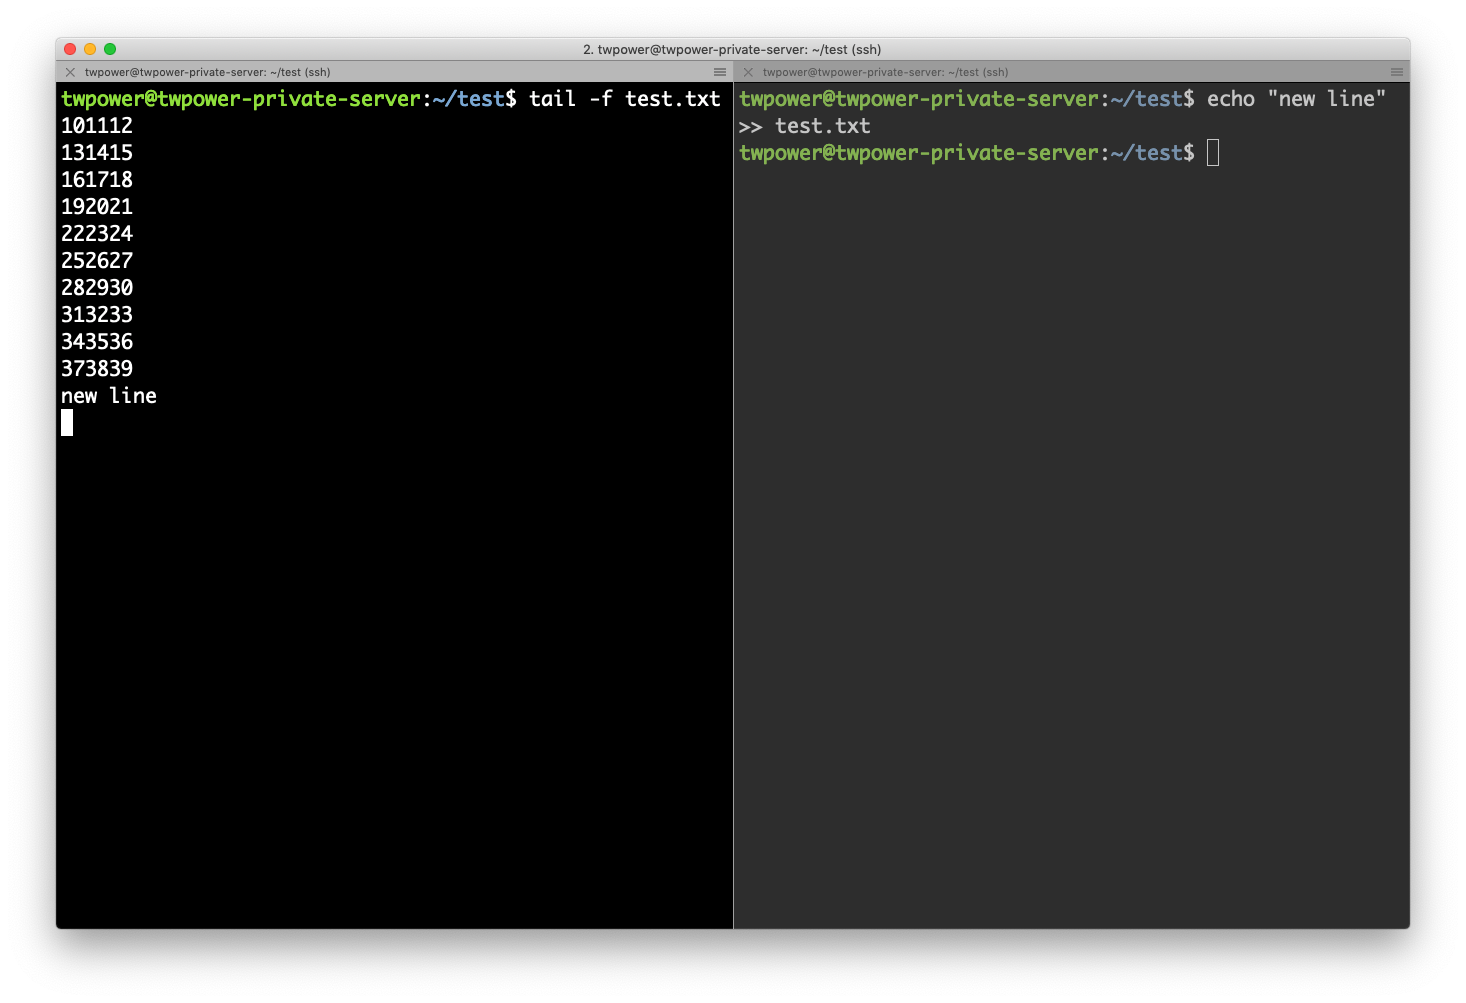
- After new lined is added.
$ tail -f test.txt
101112
131415
161718
192021
222324
252627
282930
313233
343536
373839
new line
- Left picture shows running tail command and right picture shows trying to add new line to file.
- After new line is added then you can see new added line is shown up in left side of next picture.


- Because its default option value is descriptor so if file name is changed then it prints changed file contents not previous file name contents.
- It can track previous file(which is used in when tail command is starting) by using
-For--follow=name --retry
q Option Example
- File name omission using q option.
- You can use q option for omitting file names when using tail with multiple files.
$ tail -n 3 test.txt test2.txt
==> test.txt <==
343536
373839
new line

==> test2.txt <==
a
a
a
$ tail -n 3 -v test.txt test2.txt
343536
373839
new line
a
a
a
v Option Example
- Print with file name.
$ tail -n 3 -v test.txt
==> test.txt <==
343536
373839
new line
F Option Example
- In case which file name is changed or deleted but user wants to keep tracking such file.
- It keeps printing file contents even though file name is not accessible.
$ tail -F test.txt
101112
131415
161718
192021
222324
252627
282930
313233
343536
373839
t
tail: 'test.txt' has become inaccessible: No such file or directory
tail: 'test.txt' has appeared;  following new file
t
pid Option Example
- Make and run shell script for pid option test.
$ cat << EOF >> pid_test_shell.sh
#!/bin/bash
while true
do
	sleep 1
done
EOF

$ chmod +x pid_test_shell.sh
$ ./pid_test_shell.sh &
[1] 8201
- Use tail command when running above shell script process.
$ tail -f test.txt --pid 8201
- tail command will be finished when process dies.
$ sudo kill -9 8201
